


Post by Shannon of " "Milk and Cuddles.""
Homemade baby food - the perks are obvious! It's WAY cheaper than pre-packaged baby food. You get to control the ingredients. Plus, it let's you introduce food combinations, and ingredients you can't find in typical jar food! And best of all- it's FUN!
But it's hard to do, right? And only granola loving, hippy moms living in communes do it, right? Right?? WRONG!!! Making baby food is super easy, and you don't need expensive equipment – although William Sonoma won't tell you that! All you need are some fresh fruits or vegetables of your choice, and a dream!
Here is how I make one of my daughter Molly's favorite meals – Carrots & Green Beans with Dill.
You need:
Carrots
Green beans
Dill (optional)
Microwavable dish
Blender
Something to freeze your puree in
STEP 1- Prepare the veggies.
First I peel and wash a large bag of carrots. Or, if I'm feeling lazy (and I usually am!) I just buy a large bag of pre-peeled baby carrots, that are ready to go! You can also find carrots, and green beans in the frozen food section. I used frozen green beans in this puree.
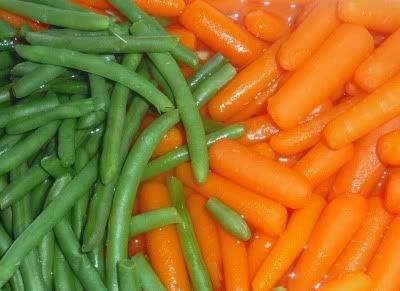
STEP 2- Steam.
I stick the carrots and green beans in a large microwavable dish, add a few cups of water, and put a loose cover on them. You'll know when they are done microwaving when you can pierce them easily with a fork. Above, you'll find a picture of my carrots and green beans all tender from the microwave, and ready for step 3!
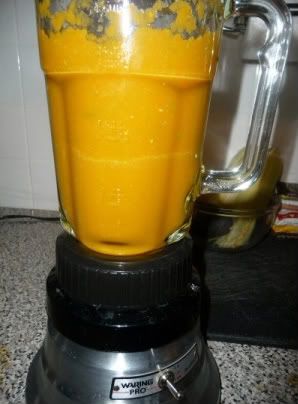
STEP 3- Blend.
It's important to let your veggies cool down before putting them in your blender. Depending on the size of your food processor or blender you may have to puree your baby food in batches. Also, some fruits & veggies need very little extra water added to the blender because they are so juicy naturally. But other ingredients like our carrots and green beans, need water added to the blender in order to puree them smoothly. I use the leftover water from steaming, and add additional water as I need to. Blend for just a short amount of time for a chunkier texture baby food, or a longer time for a silky smooth consistency baby food. If you want to add any spices, this is the time to do it. I like to add a dash of dill before I blend, and after blending.
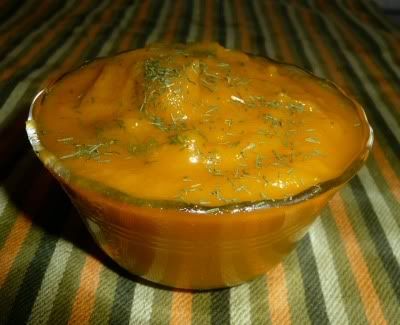
And then... wallah people! Fresh baby food!!!
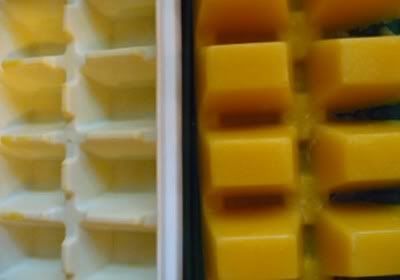
STORAGE- I use ice cube containers to freeze my puree, but you can also freeze portions in Ziploc bags. The benefit of using ice cube trays is that you can keep the cubes in a baggie in the freezer, and then pull out as many, or as few cubes as your baby is hungry for at any given time!
Making baby food is a simple, economical and creative activity! It's also, thankfully, pretty mistake proof! Try different fruit & vegetable combinations as things at the grocery store go on sale. Hide vegetables your baby doesn't really love, like spinach for instance – in sweeter vegetable like acorn squash or sweet potatoes! And don't be afraid to taste your baby food as you go! In fact something like mango puree, is a pretty yummy adult snack as well! And finally - HAVE FUN!
 Shannon is the author of the blog "Milk and Cuddles." She recently left New York City and busy career in TV production, to move to Texas and marry her soul mate. She feels blessed to be a stay at home mom, to a beautiful & zany 11 month old daughter. Her blog features recipes, stories of spit up and new motherhood, and reviews & contests! She is new to the "mommy blog" scene- be among the very first to discover, and follow her!


1 comments:
Thanks for letting me guest blog Mama Snow! It was a lot of fun. Hope the blog will help some of your readers get inspired to make baby food!
Post a Comment